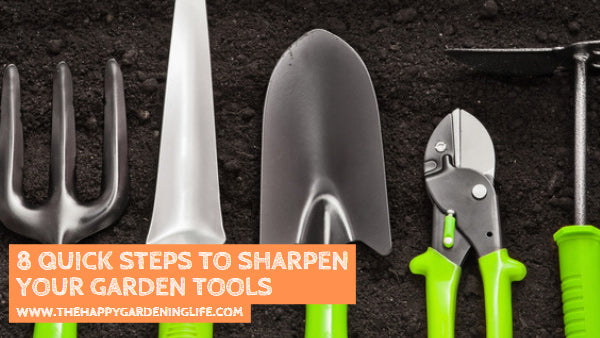
8 Quick Steps to Sharpen Your Garden Tools
 Are your garden tools still in good condition? If not, then maybe it’s time to sharpen them once again! This should be done regularly in order to maintain the the sharpness of the tools. Well-sharpened tools are definitely more efficient and easier to use. They will also make your gardening tasks much quicker to complete.
Forgetting to sharpen your garden tools on a regular basis will eventually cause them to get rusty that you might be forced to buy another new set. Rusty gardening instruments are not only dull and ineffective, but they can also cause damage and infection to your plants.
So if you don’t want to encounter this kind of problem in the future, always remember to sharpen your garden tools by using these 8 easy steps below.
Don’t forget to share this blog post on your favorite social networks by clicking the social buttons on this page!
8 Simple Steps to Sharpen Your Garden Tools
Step 1: Disassemble Tool
Most pruning tools are held together by a simple bolt or a couple of screws. You don’t have to take them apart, but the blades will be easier to clean and sharpen if separated.
Step 2: Clean Tool
Scrub away all dirt and rust with soap and water, use mineral spirits to dissolve any resin or stains, then dry thoroughly.
Step 3: Clamp Blade
If you have a workshop, secure the blade in a clamp or vise. If not, brace the shears in your lap or on a countertop, but be careful not to cut yourself while holding it steady!
Step 4: Sharpen Blade
For very dull or nicked edges, start with a mill file or coarse sharpening stone. If the blade is in good shape, begin with a medium or fine sharpening stone. Lubricate the stone (if required), then sharpen by laying the stone flat against the beveled edge of the blade.
Using steady strokes, push the stone or file toward the sharp edge of the blade. Continue until you’ve sharpened the whole length of the blade. Don’t overdo it – a few strokes should be all it takes.
Step 5: Remove Burr
Periodically place the stone or file flat against the back of the blade and make a gentle stroke toward the blade. You don’t want to reshape the flat edge, just remove any burr that has formed on the back of the edge.
Step 6: Hone Blade
After you’ve sharpened the blade, switch to a finer grit of stone and repeat the process to give a nice sharp edge. Apply less and less pressure as you go for a finer edge.
Step 7: Clean Tool
Use a clean rag to wipe off any metal filings, being careful not to cut yourself. Lightly oil the blade and any moving parts of your tools.
Step 8: Reassemble
Put your pruning shears back together and give ’em a try! Touch up the blade if needed, until it produces a smooth, easy cut. Hang your tools in a dry place to protect your sharpening job.
Article Source: todayshomeowner.com